Creating an Entity Size Profile
As mentioned in Creating an Entity Type , you can use 'System defined' Entity sizes or create your own Entity Size Profiles. This procedure explains how to do so from within LEGION Model Builder.
Note: You can also create
Entity Size Profiles in the LEGION Data Template; see
Entity profiles
worksheet
for instructions.
To create an Entity Size Profile:
-
Click
 or select
.
or select
.
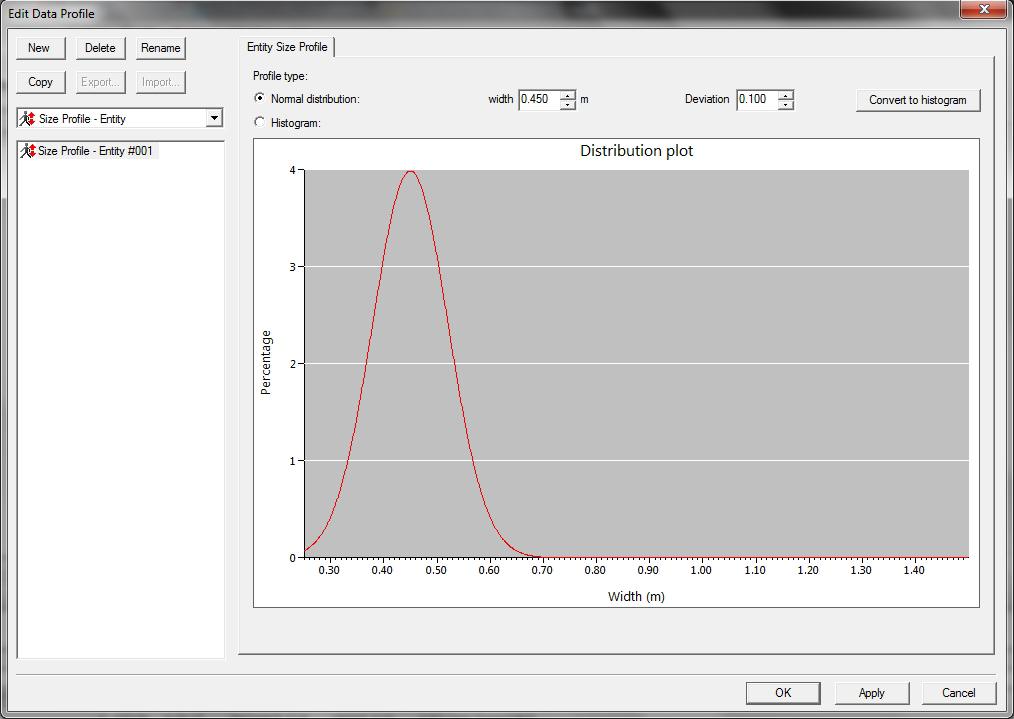
The ‘Edit Data Profiles’ dialog box is displayed.
- From the drop-down list on the left of the dialog box, select Size Profile–Entity.
- Click the New button in the top left-hand corner. A new Entity Size Profile is displayed, plotted with data to reflect the system's 'Normal distribution' of 'Width (metres) to 'Percentage' of Entities.
- Enter a name for the new profile in the highlighted name field.
- If you would rather work in the histogram view, click the option button labelled 'Histogram' to display an empty graph and proceed to step 8 (to change back to the distribution layout, click the option 'Normal distribution'.
- If you wish to change the data, enter new values for 'Width' and 'Deviation' by typing new values or by clicking the up and down arrows next to each field.
- If you would like to view this data as a histogram instead, click Convert to histogram.
- In the histogram view you can alter the data by entering values into the cells at the foot of the graph, or by dragging the columns of the graph up and down.
- If at any point you wish to restart, click the Clear button.
- For any other Size Profiles you would like to create, repeat from step 3.
- When you are happy with your profiles, click OK to close the dialog.